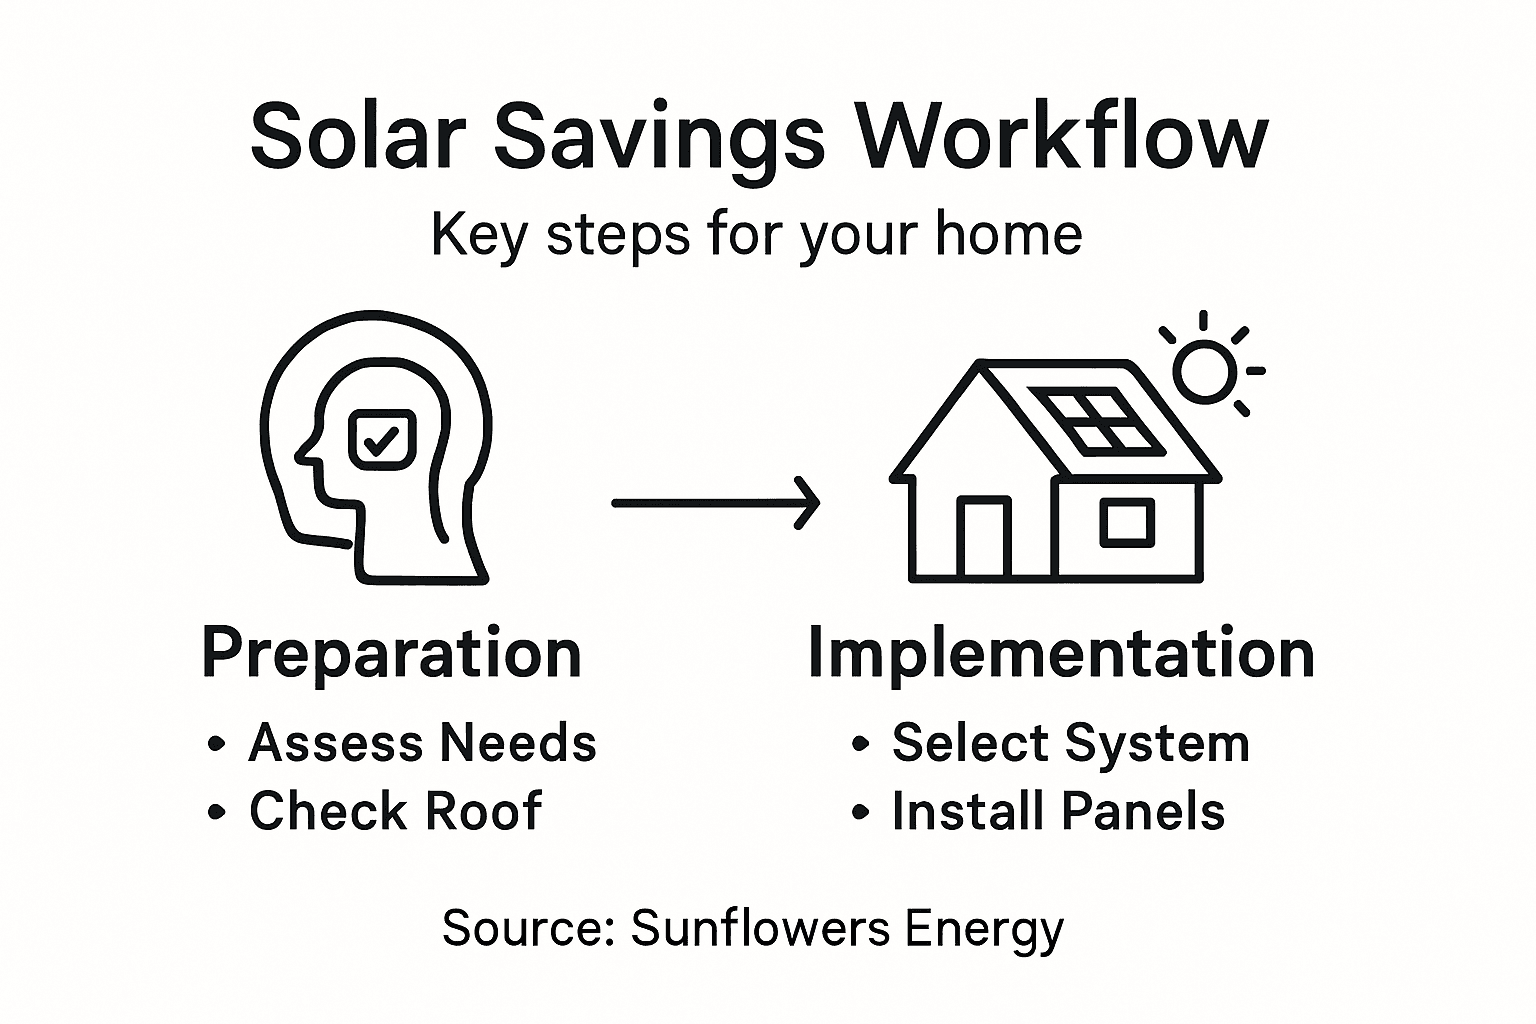
Many American homeowners in cities find themselves facing monthly energy bills that keep climbing while wondering if solar can truly deliver real savings. With the right assessment, solar panels offer a path to reduce energy costs and cut your environmental impact, but the project depends on the condition of your roof as much as your energy needs. This guide walks you through every step of choosing the best solar and roof repair solutions for lasting financial and sustainability benefits.
Table of Contents
- Step 1: Assess Energy Needs And Roof Condition
- Step 2: Calculate Solar Potential And Savings
- Step 3: Select The Right Solar And Roofing Solutions
- Step 4: Install And Connect Solar Energy Systems
- Step 5: Verify Performance And Optimize Usage
Quick Summary
| Main Insight | Detailed Explanation |
|---|---|
| 1. Assess Energy Use Before Solar | Collect utility bills for the last year to accurately determine your home’s energy usage, guiding the size of your solar system. |
| 2. Evaluate Roof Condition First | A solid roof is essential for solar panels; check for age, leaks, and sun exposure to avoid wasted investments. |
| 3. Use Online Calculators for Production | Utilize solar calculators to estimate your potential energy production and financial savings based on location and panel type. |
| 4. Compare Solar and Roofing Options | Balance quality and cost for both solar panels and roofing materials, ensuring they are compatible and durable together. |
| 5. Monitor Performance Regularly | After installation, track your system’s output and usage patterns to optimize savings and ensure efficient operation. |
Step 1: Assess Energy Needs and Roof Condition
Before investing in solar, you need two critical pieces of information: how much energy your home actually uses and whether your roof can handle a solar system. These assessments work together to determine if solar makes financial sense for your specific situation.
Start by gathering your energy usage data. Pull your last 12 months of utility bills and note your average monthly kilowatt-hour consumption. Most bills clearly display this number, making it simple to calculate your annual total. This baseline tells you exactly how large your solar system needs to be.
Next, evaluate your roof’s current condition and suitability. Solar panels typically last 25 to 30 years, so your roof needs to support them for that duration. Check these key factors:
- Roof age and material: Is your roof less than 10 years old? Solar works best on asphalt shingle roofs and metal roofs in good condition.
- Structural integrity: Look for missing shingles, leaks, sagging areas, or visible wear that signals repairs are needed soon.
- Sun exposure: Does your roof receive direct sunlight for most of the day, especially between 9 AM and 3 PM?
- Roof pitch and orientation: South-facing roofs with moderate slopes generate more solar energy.
If your roof shows signs of damage or is nearing the end of its lifespan, address those repairs before going solar. Installing panels on a failing roof wastes money and creates complications later. You can use solar production estimation tools to calculate how much energy your system would generate based on your location and roof characteristics.
Fire safety and accessibility also matter. Local fire codes require specific setback distances from the roof ridge and clear pathways for emergency access. These requirements influence where panels can be installed and may affect your system’s size or layout.
Combine your energy usage numbers with your roof assessment to get a realistic picture of whether solar is feasible and economical for your home.
Pro tip: Take photos of your roof from multiple angles and save your utility bills in one folder before scheduling a professional inspection, which accelerates the assessment process and gives installers all the information they need upfront.
Step 2: Calculate Solar Potential and Savings
Now that you understand your energy needs and roof condition, it’s time to calculate how much solar energy your system can actually produce and what that means for your wallet. This step transforms your roof into a financial tool.
Start by using online solar calculators to estimate your system’s production. These tools account for your location, roof orientation, seasonal sun patterns, and system size to predict annual kilowatt-hour generation. Enter your address, roof pitch, and proposed system capacity to get a realistic picture of electricity output.
Here’s what to calculate:
- Annual energy production: How many kilowatt-hours your system will generate each year based on local weather and sun patterns.
- Monthly generation curves: Understanding that solar produces more in summer and less in winter helps you plan for seasonal variations.
- System size needed: Match your solar capacity to your usage patterns, aiming to offset 80 to 100 percent of annual consumption.
- Federal tax credits and incentives: Factor in the 30 percent federal Investment Tax Credit and any state or local rebates that reduce upfront costs.
Once you have production estimates, calculate your financial return. Compare your current annual electricity cost against what you’ll pay with solar factored in. Most urban homeowners see payback periods between 6 and 10 years, with decades of additional savings after that.
Don’t overlook long-term savings. A 25-year-old solar system still produces about 80 percent of its original output, so your savings continue well beyond the payback period. This is where solar becomes truly powerful for your bottom line and your home’s resale value.
Your solar calculator results show potential, but real-world savings depend on how efficiently your system operates and how well you manage your household energy consumption.
Pro tip: Run your calculations for multiple system sizes (4 kW, 5 kW, 6 kW) to find the sweet spot between upfront cost and lifetime savings, then compare those scenarios with your installer’s recommendations.
Step 3: Select the Right Solar and Roofing Solutions
Choosing the right solar panels and roofing materials determines your system’s performance, durability, and long-term value. This step requires balancing quality, cost, and compatibility between both systems.

Evaluate solar panel options based on efficiency and durability. Monocrystalline panels offer higher efficiency rates and perform better in shaded conditions, while polycrystalline panels cost less upfront. Look for panels with at least a 25-year warranty and efficiency ratings above 18 percent. Check that your chosen panels meet local safety certifications and electrical codes.
Roofing materials must work seamlessly with your solar system. Consider these key factors:
- Material compatibility: Asphalt shingles and metal roofing both work well with solar, but ensure your installer has experience with your specific roofing type.
- Durability matching: Your roofing and solar system should have similar lifespans. Don’t install premium 30-year panels on a 10-year-old roof.
- Installation quality: Poor roofing workmanship creates leaks that compromise your entire solar investment and void warranties.
- Local code compliance: Solar contractors and roofing materials must meet building codes, fire safety standards, and utility interconnection requirements.
When evaluating contractors and products, compare warranties carefully. Look for 25-year power output warranties on panels, 10-year workmanship warranties on installation, and roofing warranties that extend beyond the solar system’s lifespan. Request detailed quotes showing materials, labor, equipment costs, and warranty terms side by side.
Don’t rush this decision. Get at least three quotes from certified installers, verify their licensing and insurance, and check customer reviews. The cheapest option often means compromised quality that haunts you for decades.
Here’s a summary of factors affecting your solar decision-making:
| Factor | Why It Matters | Impact on Solar Success |
|---|---|---|
| Energy usage history | Sets system size needed | Right-sizing avoids overspending |
| Roof lifespan | Determines upgrade timing | Old roofs risk extra costs |
| Roof orientation | Affects energy generation | Poor direction means lower output |
| Local incentives | Reduces upfront expense | Increases project affordability |
This comparison helps clarify major solar panel types:
| Panel Type | Efficiency Range | Main Advantage |
|---|---|---|
| Monocrystalline | 18-22% | Highest output per sqft |
| Polycrystalline | 15-18% | Lower cost, budget-friendly |
| Thin-film | 10-12% | Light weight, versatile for some roofs |
Quality solar panels paired with professional roofing work create a system that generates clean energy reliably for 25 years or more.
Pro tip: Ask potential installers whether they recommend roof repairs or replacement before solar installation, and get a separate estimate for any roof work so you can bundle projects and potentially save on labor costs.
Step 4: Install and Connect Solar Energy Systems
Installation is where your solar investment becomes reality. This step involves mounting panels, running electrical connections, and connecting your system to the grid so you can start saving on energy costs.
Professional installation typically begins with roof preparation and mounting. Your installer secures racking systems to your roof structure, ensuring proper alignment and load distribution. This is critical work that protects your roof’s integrity and prevents water intrusion. Quality mounting work prevents leaks and system damage for decades.
Next comes the electrical work. The solar photovoltaic system components include wiring from panels to a combiner box, which consolidates electrical flows before they reach your inverter. The inverter converts direct current (DC) electricity from panels into alternating current (AC) that powers your home.
Here’s the typical installation sequence:
- Structural assessment to verify roof can support the system weight and wind loads.
- Electrical permits must be obtained before any work begins on wiring.
- Panel mounting with flashing installed to prevent roof leaks around penetrations.
- Wiring and combiner installation connecting all panels with proper gauge wire and safety disconnects.
- Inverter and battery installation (if applicable) with appropriate electrical protection devices.
- Grid interconnection where your utility company inspects and approves your system for operation.
After installation, your utility company performs a final inspection and activates your net metering agreement. This allows excess electricity your system produces to feed back to the grid, earning you credits on future bills.
The entire process typically takes 2 to 4 weeks from permit approval to grid connection. Your installer handles permits and inspections, so your main responsibility is scheduling and access.
Professional installation ensures your system meets electrical codes, performs efficiently, and maintains your roof’s warranty coverage.
Pro tip: Before installation day, clear the area around your roof of obstacles, ensure attic access is available, and confirm your electrical panel location so the installer can plan the most efficient wiring route.
Step 5: Verify Performance and Optimize Usage
Your solar system is now live and generating electricity. This step ensures everything performs as expected and helps you maximize your energy savings through smart usage patterns.
Start by monitoring your system’s real-time performance using your monitoring dashboard. Most modern solar systems come with apps or web portals that display current power generation, daily totals, and cumulative production. Check these readings during sunny days to establish your baseline output. A healthy system produces electricity proportional to sunlight intensity and temperature.
Verify that your system meets performance expectations from the initial calculations. Compare actual monthly production against estimates from your solar calculator. Minor variations of 5 to 10 percent are normal due to weather and seasonal changes. Significant gaps may indicate installation issues or equipment problems that need attention.
Optimize your energy usage to maximize savings:
- Shift usage to peak solar hours: Run appliances like dishwashers and washing machines during midday when solar production peaks.
- Monitor real-time generation: Use your app to see when your system produces the most electricity and adjust activities accordingly.
- Manage time-of-use rates: If your utility offers time-of-use pricing, consume more power during off-peak hours when rates are lowest.
- Balance battery storage: If you have a battery system, charge it during peak generation to use stored power during evening hours.
Understand your net metering credits. Excess power your system generates flows to the grid, and your utility credits you for this electricity. Track these credits monthly to see how they offset your consumption. Many utilities show net metering value on your bill, demonstrating your system’s financial impact.
Schedule preventive maintenance annually. PV system performance optimization includes panel cleaning, inverter checks, and electrical inspections to keep everything operating efficiently. Clean panels generate 15 to 25 percent more electricity than dusty ones, making cleaning a worthwhile investment.
Regular monitoring transforms solar from a passive investment into an active tool you control to maximize financial and environmental benefits.
Pro tip: Set monthly reminders to review your solar production and energy usage patterns, and use this data to identify which time-shifting strategies save you the most money.
Unlock Your Home’s Solar Potential with Expert Guidance and Quality Service
Mastering the solar energy savings workflow relies on accurately assessing your energy needs, roof condition, and system performance to maximize savings and reliability. If you are looking to transform your home into a sustainable energy powerhouse while ensuring your roof supports this vision, Sunflowers Energy offers comprehensive solar and roofing solutions tailored to your goals. Whether you need precise solar panel installation or trusted roofing repairs, our skilled team handles every step to protect your investment and boost your home’s efficiency.
Experience peace of mind knowing you have industry-leading materials and expert service aligned with your energy savings plan. Discover how combining solar with roofing upgrades can extend durability and energy output. Explore insights and options with 1win Brazil – Sunflowers Energy LLC A Roofing and Solar Companys to see real success stories.
Take control of your solar journey today by visiting Sunflowers Energy’s homepage to schedule a free onsite inspection and receive a personalized quote. Empower your home with clean energy, dependable roofing, and professional support designed around your unique needs.
Frequently Asked Questions
How do I assess my home’s energy needs before installing solar panels?
To assess your home’s energy needs, gather your utility bills from the past 12 months and calculate your average monthly kilowatt-hour consumption. This baseline will help you determine the size of the solar system you need to install to meet your energy requirements.
What should I look for when evaluating my roof’s condition for solar installation?
When evaluating your roof, check for its age, structural integrity, and sun exposure. Ensure your roof is in good condition, free of leaks, and preferably less than 10 years old, as solar panels typically last between 25 to 30 years.
How do I calculate the solar potential and savings from my solar system?
Calculate your solar potential by using an online solar calculator to estimate your system’s annual energy production based on your location and roof characteristics. Compare your estimated savings with your current electricity costs to determine how much you can save over time.
What factors should I consider when selecting solar and roofing solutions?
When selecting solar and roofing solutions, consider the compatibility of roofing materials with solar panels, warranty terms, and the quality of installation. Ensure that the solar panels come with at least a 25-year warranty and match the lifespan of your roofing materials to avoid future costs related to repairs or replacements.
What steps are involved in the solar installation process?
The installation process includes assessing your roof, obtaining necessary permits, mounting the solar panels, and connecting the system to the grid. Ensure all electrical work is performed by professionals to comply with safety codes and maintain your warranty coverage.
How can I optimize my solar system’s performance after installation?
You can optimize your solar system’s performance by regularly monitoring its output and adjusting your energy usage to align with peak solar production hours. Shift tasks like laundry to midday, when your solar system generates the most electricity, to maximize savings.
Recommended
- Solar Energy Efficiency Guide for Maximized Home Savings – Sunflowers Energy LLC A Roofing and Solar Companys
- Solar Installation Steps: Maximizing Home Efficiency – Sunflowers Energy LLC A Roofing and Solar Companys
- Solar Power for Beginners: Savings and Sustainability – Sunflowers Energy LLC A Roofing and Solar Companys
- Cómo optimizar consumo solar y ahorrar en tu hogar – Sunflowers Energy LLC A Roofing and Solar Companys
