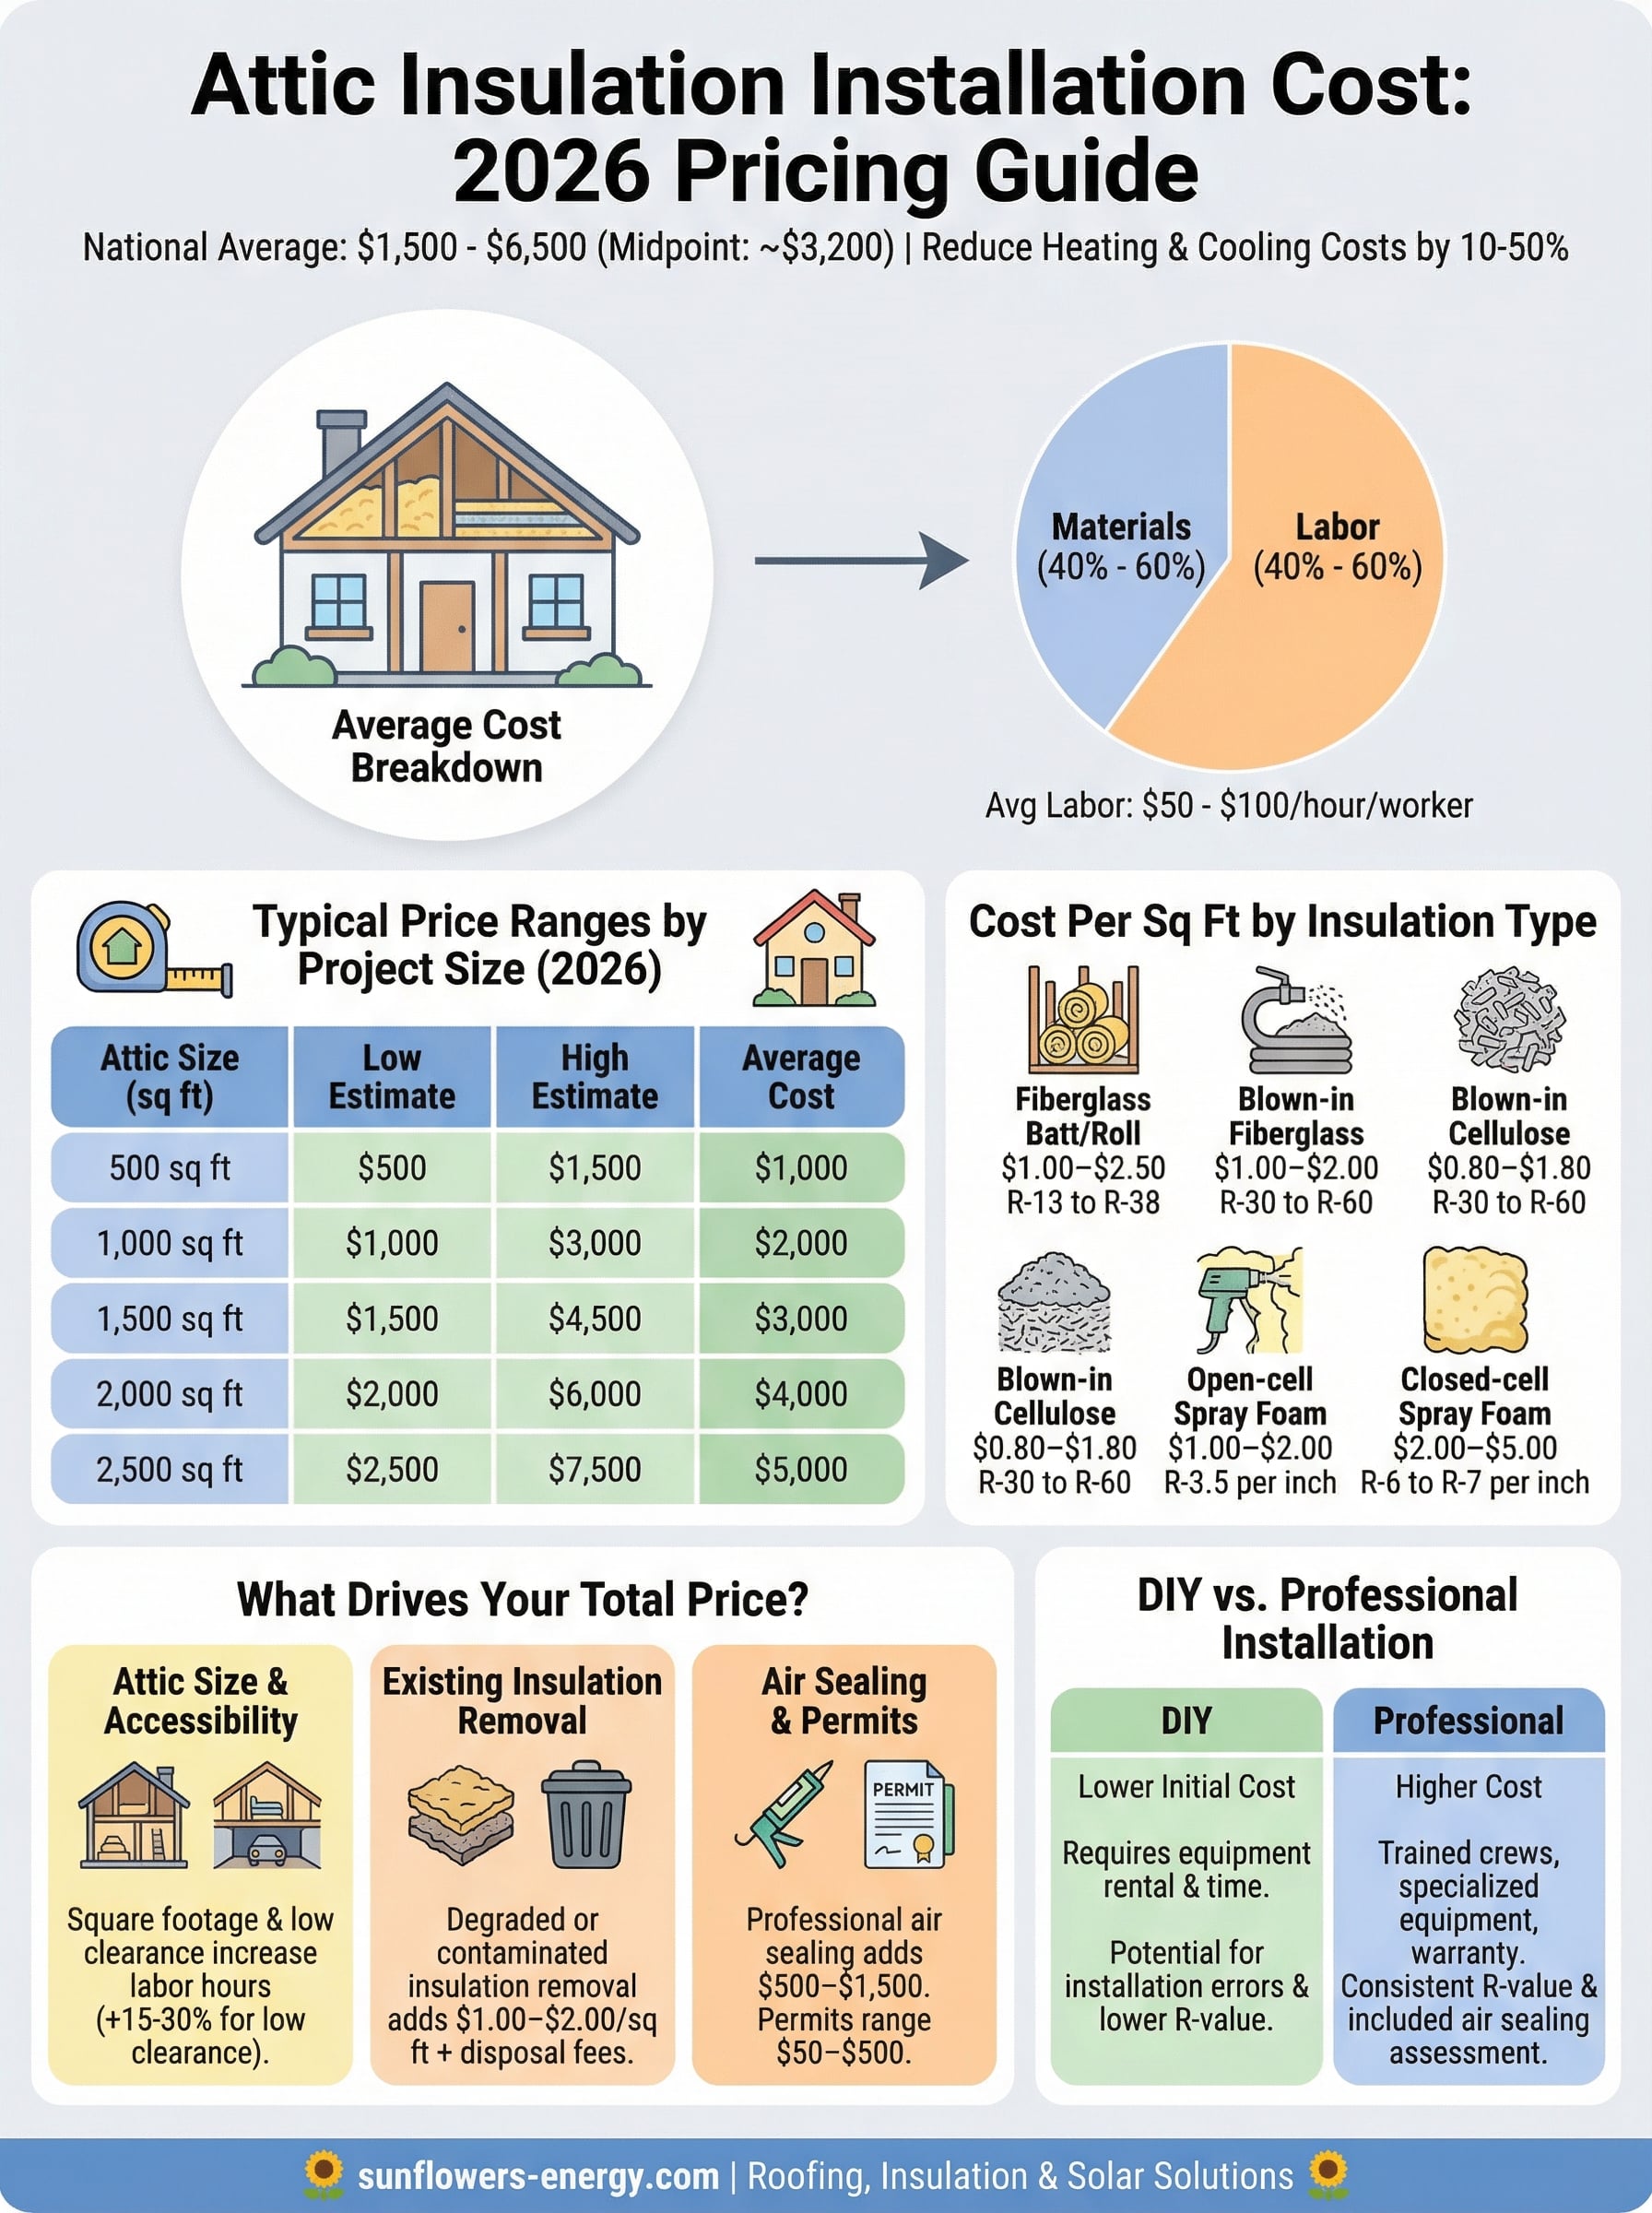
Your roof is your home’s first line of defense, but right beneath it sits one of the biggest factors in your energy bills: attic insulation. If you’re researching attic insulation installation cost, you’re already on the right track, understanding the numbers upfront prevents surprises and helps you budget with confidence. In 2026, homeowners can expect to pay anywhere from $1,500 to $6,500 for a typical project, though the final price depends on several variables worth breaking down.
At Sunflowers Energy LLC, we work above and below the roofline every day. Our roofing and solar teams see firsthand how poor attic insulation undermines even the best roof and the most efficient solar panel system. A well-insulated attic keeps conditioned air where it belongs, which means your heating and cooling systems work less, and your energy savings multiply when paired with solar.
This guide covers everything you need to know: per-square-foot pricing, labor rates, material comparisons, and the key factors that push costs up or bring them down. Whether you’re planning a full attic insulation project or just trying to understand what a fair quote looks like, you’ll walk away with clear, actionable numbers to make your decision.
Average attic insulation installation cost in 2026
The national average attic insulation installation cost sits between $1,500 and $6,500 for most residential projects in 2026, with the midpoint landing around $3,200. That wide range exists because attic size, insulation type, and local labor rates all pull the number in different directions. Most homeowners with a standard 1,000 to 1,500 square foot attic end up somewhere between $2,000 and $4,500 when using a professional installer. Knowing the average gives you a baseline, but the sections below break down exactly what moves that number up or down for your specific situation.
According to the U.S. Department of Energy, proper attic insulation can reduce heating and cooling costs by 10% to 50%, which means most homeowners recover the installation cost within three to seven years through energy savings alone.
Typical price ranges by project size
Your attic’s square footage is the single biggest lever on your total bill. Installers price most jobs on a per-square-foot basis, so costs scale up fairly predictably once you know your space. Per-square-foot rates typically fall between $1.00 and $4.50, depending on the material and labor market in your area. Here is how total project costs typically break down by attic size in 2026:
| Attic Size (sq ft) | Low Estimate | High Estimate | Average Cost |
|---|---|---|---|
| 500 sq ft | $500 | $1,500 | $1,000 |
| 1,000 sq ft | $1,000 | $3,000 | $2,000 |
| 1,500 sq ft | $1,500 | $4,500 | $3,000 |
| 2,000 sq ft | $2,000 | $6,000 | $4,000 |
| 2,500 sq ft | $2,500 | $7,500 | $5,000 |
These figures assume standard blown-in or batt insulation on a clean, accessible attic floor. If your attic needs air sealing work, mold remediation, or removal of old degraded insulation before the new material goes in, those services add $500 to $2,000 on top of the base installation price.
Labor vs. materials breakdown
Understanding where your money actually goes helps you read quotes more clearly and spot any padding. On a typical attic insulation project, materials account for 40% to 60% of the total cost, while labor covers the remainder. For a $3,000 project, you might pay roughly $1,300 to $1,500 for insulation materials and $1,500 to $1,700 for the crew’s time and equipment.
Most professional insulation contractors charge between $50 and $100 per hour per worker. A two-person crew can typically insulate a 1,200 square foot attic in four to six hours, putting labor alone at $400 to $1,200 depending on your local market. Attics with low clearance, multiple bays, ductwork obstructions, or irregular framing add significant time to any job and push that labor figure higher regardless of the material type you choose.
Regional cost differences
Where you live shifts your final project cost more than most people expect when first budgeting. Labor markets in the Northeast and on the West Coast run 20% to 40% higher than the national average, while homeowners in the South and Midwest generally pay below-average rates. Material costs also vary by region based on local supplier competition and shipping distances from manufacturing facilities.
A 1,500 square foot attic project that runs $3,000 in a mid-sized Midwestern city might cost $4,000 to $4,500 in Boston or San Francisco. That same job in rural Texas or Georgia could come in closer to $2,000 to $2,500. Always collect at least three quotes from licensed local contractors before committing, since regional pricing variation means a single quote rarely gives you the full picture.
Cost per square foot by insulation type
The type of insulation you choose has a larger impact on your per-square-foot cost than almost any other single decision. Each material delivers a different R-value, requires different installation equipment, and carries a different price tag. The table below shows installed costs by insulation type so you can compare options side by side when reviewing contractor quotes.
| Insulation Type | Installed Cost (per sq ft) | Typical R-Value |
|---|---|---|
| Fiberglass batt/roll | $1.00–$2.50 | R-13 to R-38 |
| Blown-in fiberglass | $1.00–$2.00 | R-30 to R-60 |
| Blown-in cellulose | $0.80–$1.80 | R-30 to R-60 |
| Open-cell spray foam | $1.00–$2.00 | R-3.5 per inch |
| Closed-cell spray foam | $2.00–$5.00 | R-6 to R-7 per inch |
Batt and roll insulation
Batt insulation is the most recognizable option: pre-cut fiberglass or mineral wool panels sized to fit standard joist bays. At $1.00 to $2.50 per square foot installed, it’s the most budget-friendly starting point for attics with clean, accessible framing. The trade-off is coverage quality. Batt insulation leaves gaps around pipes, wiring, and irregular framing unless each piece is carefully measured and cut, which adds labor time on complex attics and reduces the effective R-value across the whole space.
Blown-in insulation
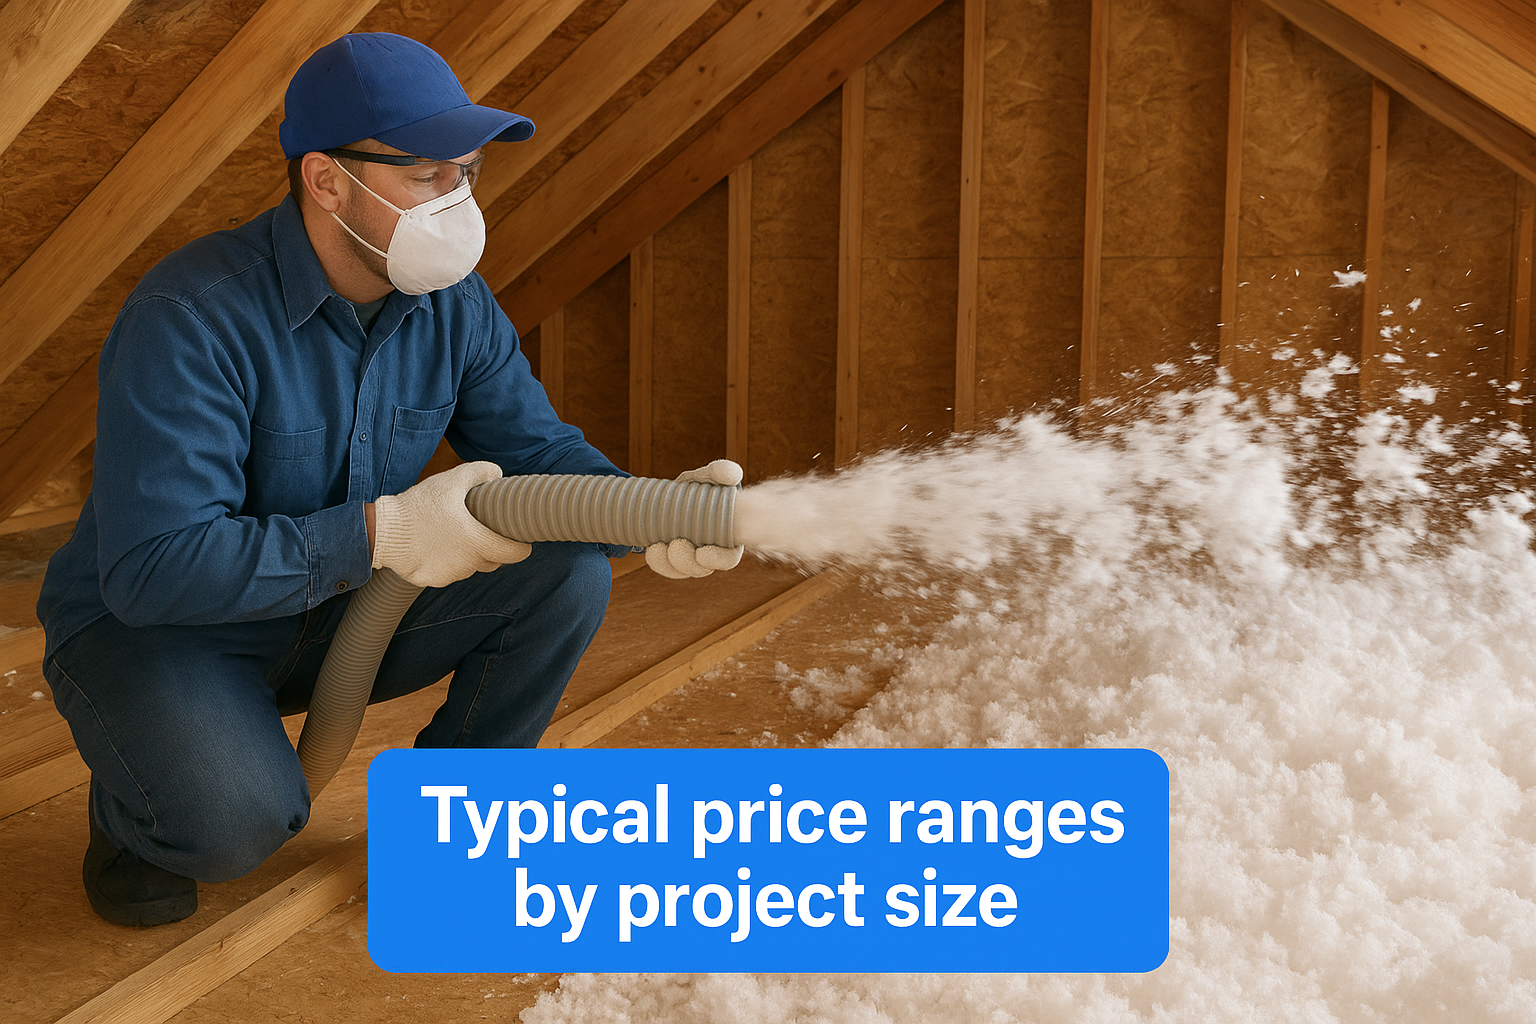
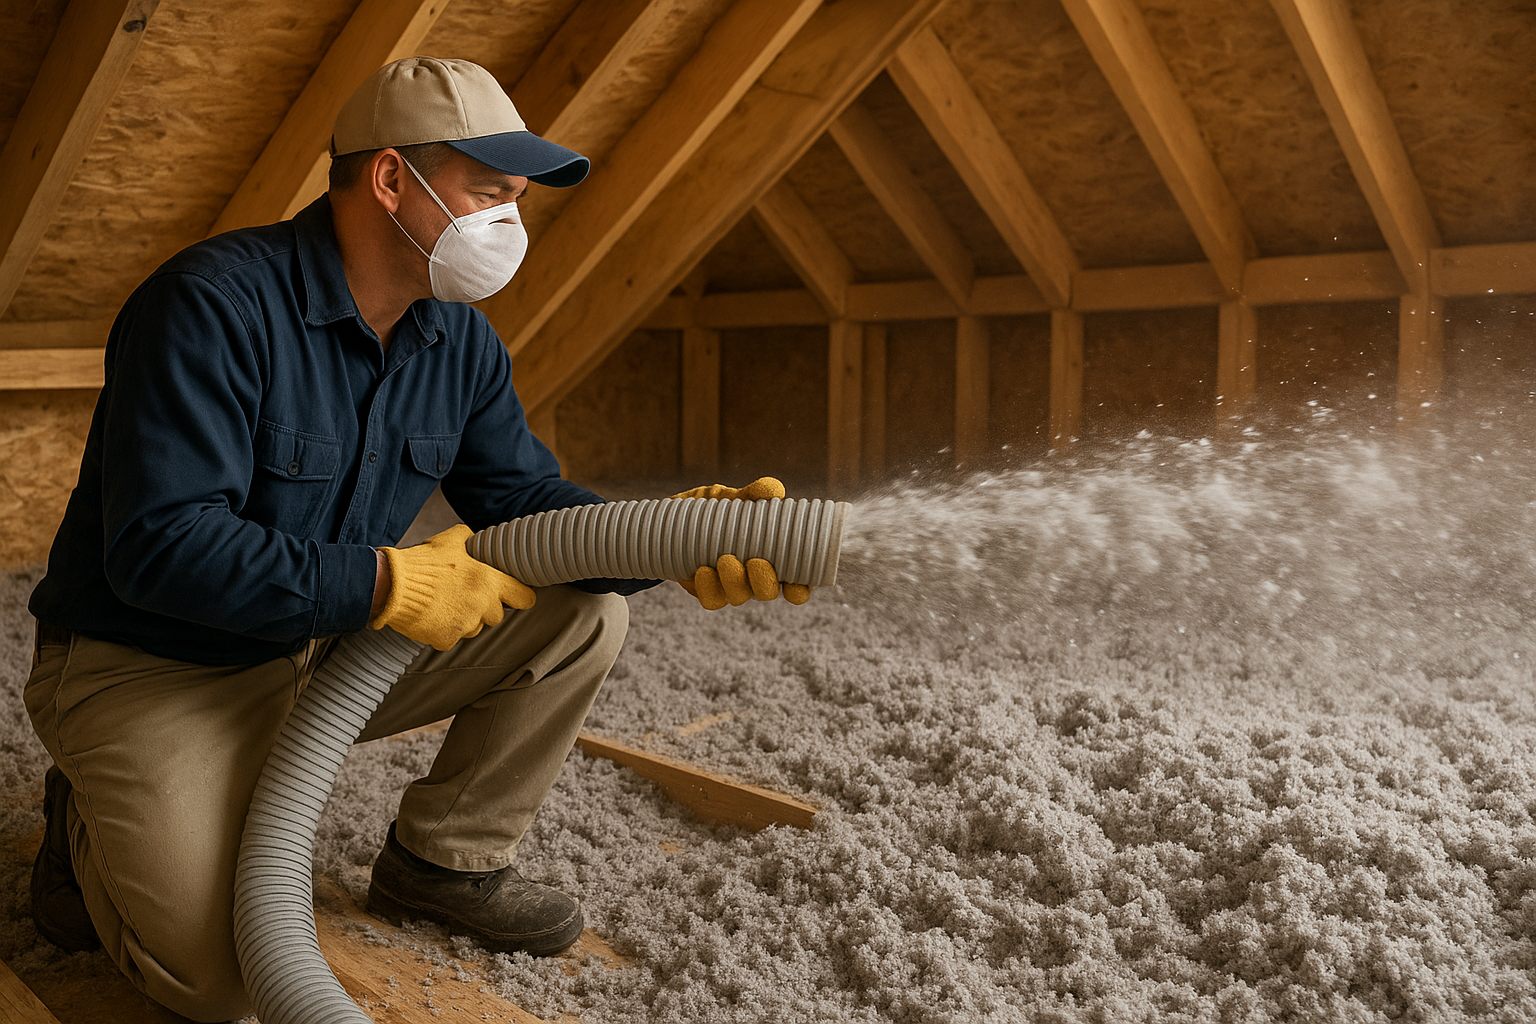
Blown-in insulation, available in fiberglass or cellulose, gets pumped into your attic through a large hose and settles into every gap, crack, and corner of the space. This coverage makes it significantly better at eliminating air leakage than batt, and it’s the most common material referenced in professional attic insulation installation cost estimates for existing homes. Cellulose runs $0.80 to $1.80 per square foot installed and is produced largely from recycled paper, making it both the most affordable and most eco-friendly blown-in option available.
Blown-in cellulose achieves the same thermal performance as fiberglass at a lower installed cost per square foot, which is why most contractors recommend it as the default choice for budget-conscious retrofits.
Spray foam insulation
Spray foam is the premium option on the market, and the price reflects it. Closed-cell spray foam delivers R-6 to R-7 per inch, the highest R-value per inch of any residential insulation type, and it doubles as an air and moisture barrier. You’ll pay $2.00 to $5.00 per square foot installed for closed-cell foam. Open-cell spray foam costs less at $1.00 to $2.00 per square foot but provides lower R-values and no moisture resistance, making it a better fit for dry climates where condensation is not a concern.
What drives your total price
Your attic insulation installation cost doesn’t come from a single variable; it builds from several factors working together. Understanding each one helps you read contractor quotes more accurately and spot where you have room to adjust your project scope before signing anything.
Attic size and accessibility
The larger your attic, the more material and labor hours your project requires. Square footage is the foundation of every estimate, and contractors build their per-square-foot price directly on top of it. But raw size only tells part of the story.
Attic accessibility matters just as much as square footage when it comes to labor costs. A tall, open attic a crew can walk through takes far less time to insulate than a low-clearance space where workers crawl on their hands and knees, positioning material in tight quarters. Expect to pay 15% to 30% more on labor for low-clearance attics compared to standard walk-in spaces.
Existing insulation and removal costs
Many older homes already have insulation in place, but degraded, compressed, or contaminated insulation must come out before new material goes down. Removal adds $1.00 to $2.00 per square foot to your total cost, and disposal fees can push that number another $100 to $500 higher depending on the volume involved. Before your contractor builds a quote, ask them to assess what’s already up there. Common situations that trigger removal costs include:
- Vermiculite-based insulation, which may contain asbestos and requires professional abatement
- Moisture-damaged or mold-affected material that can’t be buried under new insulation
- Compressed fiberglass batts that have lost their R-value and no longer perform to spec
Getting a clear scope of what needs to come out before installation starts will prevent the most common source of budget surprises on insulation projects.
Air sealing and local permits
Air sealing and insulation work together, and skipping the sealing step reduces the performance of even premium materials. Gaps around light fixtures, plumbing penetrations, and HVAC ducts allow conditioned air to escape before insulation gets a chance to slow it down. Professional air sealing typically adds $500 to $1,500 to a project, but the energy savings from a properly sealed attic recover that cost faster than insulation alone.
Some municipalities require permits for attic insulation projects, particularly when spray foam touches electrical fixtures. Permit fees range from $50 to $500 depending on your jurisdiction, and your contractor’s licensing and insurance costs also factor into their hourly rate.
DIY vs pro installation costs
The decision to hire a professional or handle the job yourself comes down to more than just price. Material costs stay the same regardless of who does the work, but labor savings from a DIY approach can look very attractive on paper until you factor in equipment, time, and the real risk of underperforming installation. Understanding both sides of the equation helps you make a smarter call before you commit.
What DIY actually costs
Doing the job yourself eliminates labor charges, which typically represent 40% to 60% of a professional quote. For a 1,500 square foot attic, that could mean saving $800 to $2,000 in labor fees. However, you still need to rent or buy equipment, and blown-in insulation requires a blower machine most homeowners don’t own. Here is a realistic breakdown of DIY costs for a 1,500 square foot attic using blown-in cellulose:
| Cost Item | Estimated Cost |
|---|---|
| Cellulose insulation (bags) | $400–$700 |
| Blower machine rental (per day) | $100–$200 |
| Safety equipment (respirator, goggles, gloves) | $40–$80 |
| Air sealing materials | $50–$150 |
| Total DIY estimate | $590–$1,130 |
Many home improvement retailers like Home Depot and Lowe’s offer free blower machine rentals when you purchase a minimum number of insulation bags, which can eliminate your equipment rental cost entirely.
What professionals bring to the table
A licensed insulation contractor brings trained crews, commercial-grade equipment, and liability coverage that a DIY approach simply cannot match. Professional installers work faster and more consistently, which directly affects the final R-value your attic achieves across the entire space. Gaps, missed corners, and compressed material are common mistakes in DIY projects that reduce thermal performance without being visible to the naked eye.
Professional installation also typically includes a thermal assessment and air sealing inspection as part of the quote, services that add real value to the finished job. When you factor in the total attic insulation installation cost over the life of the insulation, a properly installed professional job often costs less in the long run because it performs consistently at its rated R-value for decades rather than degrading faster due to installation errors.
When DIY makes sense
DIY works best for straightforward batt installation in a clean, open, easily accessible attic with standard framing and no existing moisture issues. If your attic requires old insulation removal, spray foam application, or significant air sealing around complex penetrations, hiring a professional is the safer financial decision. Spray foam in particular requires specialized training and equipment that makes it impractical and potentially hazardous for most homeowners to handle without professional help.
How to estimate your attic insulation budget
Estimating your attic insulation installation cost before contacting contractors gives you a stronger negotiating position and helps you spot quotes that are either too high or suspiciously low. The process takes less than an hour and requires nothing more than a tape measure, a calculator, and some basic knowledge of what insulation materials cost in your area.
Measure your attic square footage first
Start by measuring the length and width of your attic floor and multiplying those numbers together. If your attic has an irregular shape, break it into rectangles, calculate each section separately, and add them together. Most residential attics in the United States fall between 800 and 2,000 square feet, so your final number should land somewhere in that range unless you have an unusually large or small home.
Once you have your square footage, use the per-square-foot ranges from earlier in this guide to build a rough cost window. Multiply your attic square footage by $1.00 for a low estimate and by $4.50 for a high estimate. That spread gives you a realistic baseline before any contractor picks up the phone.
Factor in R-value requirements for your climate zone
The U.S. Department of Energy recommends specific R-values for attics based on your climate zone, and hitting those targets determines how much material your project actually needs. Homeowners in colder northern climates typically need R-49 to R-60 in their attics, while southern regions may only require R-30 to R-38.
You can find your climate zone and the recommended attic R-value for your area at energy.gov, which provides a free insulation recommendation tool organized by ZIP code.
A higher target R-value means more material depth, which increases both your material cost and, in some cases, your labor cost if your existing joist bays need additional framing or support to hold the added volume.
Build in a contingency budget
No estimate survives first contact with the actual attic. Set aside 10% to 15% of your total projected cost as a buffer for unexpected expenses like additional air sealing, minor mold treatment, or old insulation removal that wasn’t visible during the initial walkthrough. If your estimate lands at $3,000, plan to have $3,300 to $3,450 available before work begins so that surprises don’t stall your project midway through.
Next steps
You now have a complete picture of what attic insulation installation cost looks like in 2026, from material comparisons and square footage estimates to labor breakdowns and DIY trade-offs. The most important move you can make right now is to measure your attic, identify your climate zone’s R-value requirement, and collect at least three quotes from licensed local contractors before committing to any work.
Your roof, attic insulation, and solar panels all work as one connected system. Weak insulation undermines a strong roof, and both reduce the return you get from a solar installation. Getting all three components working together is how you actually cut your energy bills long-term and protect your home’s value. If you want professional guidance on roofing, insulation, and solar from a team that handles all three, schedule a free on-site inspection with Sunflowers Energy LLC and get a no-obligation quote built around your home’s specific needs.
