How to repair storm-damaged roof safely in 2026
Storm damage to your roof can happen in minutes, but the consequences can last for years if not addressed properly. Every year, thousands of homeowners face cracked shingles, punctured membranes, and water infiltration after severe weather events. The good news is that many common repairs are within reach of prepared homeowners who follow the right steps. This guide walks you through recognizing damage, gathering materials, executing repairs safely, and verifying your work to restore your roof’s protective integrity and extend its lifespan.
Table of Contents
- Recognizing Storm Damage And Initial Inspection
- Preparing For The Repair: Tools, Materials, And Safety
- Step-By-Step Guide To Repairing Common Storm Roof Damages
- Verifying Repair Success And Ongoing Maintenance Tips
- Trust Sunflowers Energy For Your Storm-Damaged Roof Needs
Key takeaways
| Point | Details |
|---|---|
| Inspect immediately | Check your roof within 24 to 48 hours after a storm to identify damage before it worsens. |
| Prepare thoroughly | Gather proper tools, materials, and safety equipment before starting any repair work. |
| Follow repair steps | Use proven methods tailored to your damage type for lasting, effective fixes. |
| Verify and maintain | Confirm repairs are secure and schedule seasonal inspections to prevent future issues. |
Recognizing storm damage and initial inspection
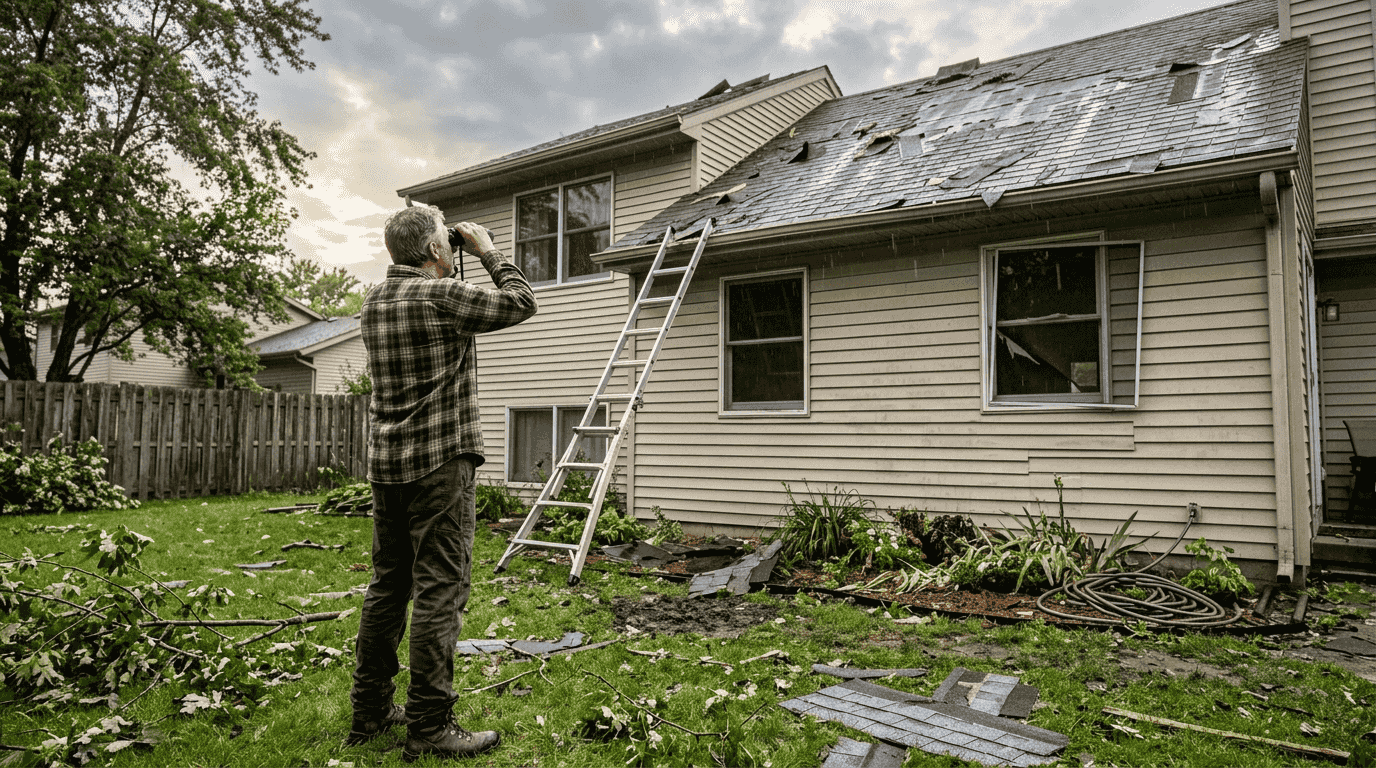
Storms bring high winds, hail, flying debris, and heavy rain that can compromise your roof in multiple ways. Storm damage can include missing shingles, cracks, punctures, and leaks requiring urgent attention. Identifying these issues early prevents minor problems from escalating into costly structural damage or interior water intrusion.
Start your inspection from the ground using binoculars to scan for obvious signs like displaced or missing shingles, dented flashing, or debris accumulation. Look for asymmetrical patterns on your roof surface, which often indicate impact damage. Check gutters and downspouts for granule buildup, a telltale sign that shingles are deteriorating. If you spot potential issues, a closer ladder inspection may be necessary, but only if you can do so safely.
Safety must be your top priority during any roof inspection. Never climb onto a wet, icy, or steeply pitched roof without proper fall protection equipment. Use a sturdy, correctly positioned ladder with someone holding it at the base. Wear rubber-soled shoes for traction and avoid inspecting during windy conditions. If your roof is steep, damaged extensively, or you feel uncomfortable at heights, stop and contact a professional immediately.
Critical safety precautions include:
- Inspect only in dry, calm weather conditions to minimize slip and fall risks.
- Use a safety harness and roof anchors if you must walk on the roof surface.
- Never work alone; have someone nearby in case of emergency.
- Turn off power to any roof-mounted equipment before starting.
- Watch for hidden hazards like weakened decking or unstable shingles.
For comprehensive damage assessment, especially after hail events, consider following a detailed roof inspection after hail protocol. Documenting damage with photos and notes helps when filing insurance claims and planning repairs. If you discover widespread damage, structural sagging, or signs of water penetration inside your home, professional evaluation from storm roof damage identification experts becomes essential before attempting repairs.
Preparing for the repair: tools, materials, and safety
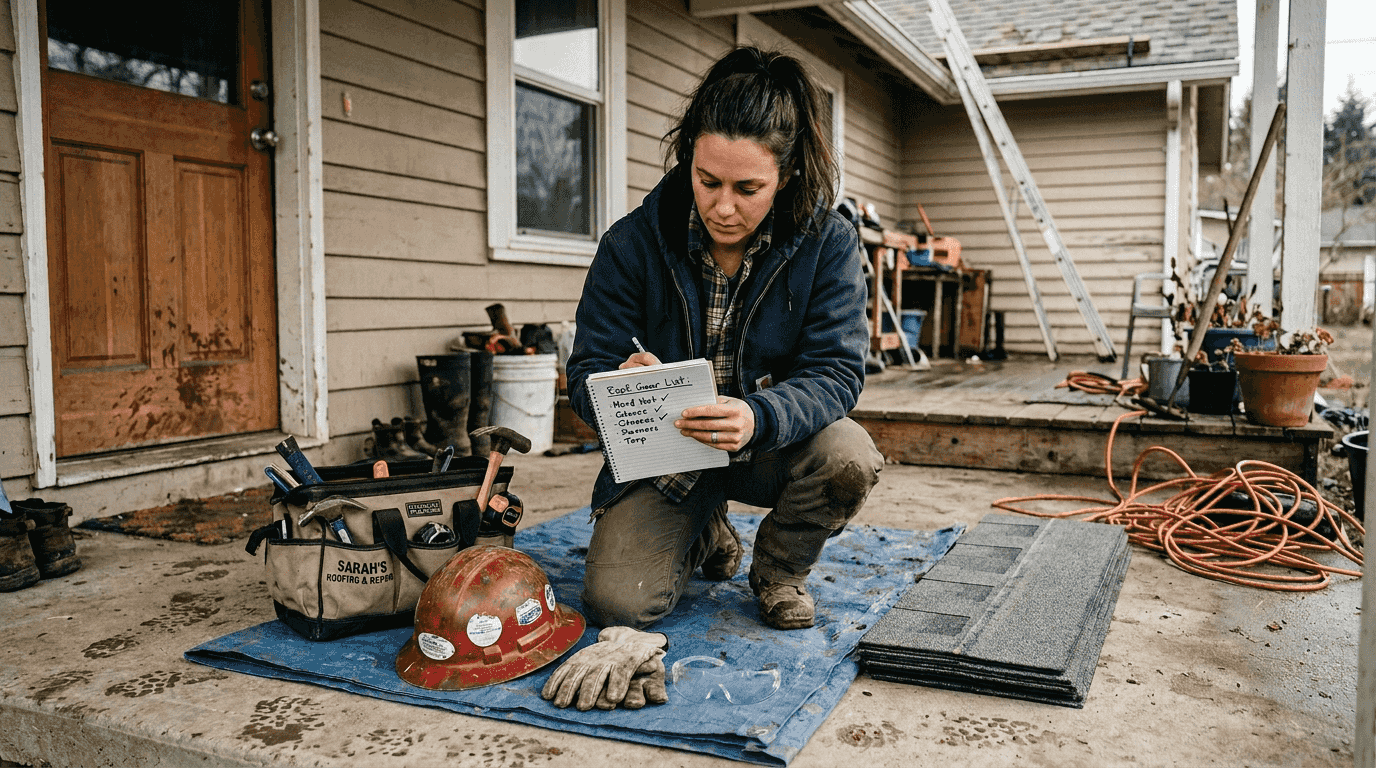
Successful roof repairs start long before you climb the ladder. Gathering the right tools and materials ensures you can work efficiently without dangerous mid-project trips up and down. For most common storm damage repairs, you will need a hammer, pry bar, utility knife, chalk line, and measuring tape. A caulking gun, roofing nails, and a nail gun (manual or pneumatic) speed up the process significantly.
Your material list depends on damage type but typically includes replacement shingles that match your existing roof, roofing cement or mastic, flashing material, and underlayment felt. Wet roof sealants and quality repair materials help ensure lasting fixes after storm damage. Purchase slightly more materials than your measurements indicate to account for waste and future touch-ups. Store materials in a dry, accessible location near your work area but away from foot traffic.
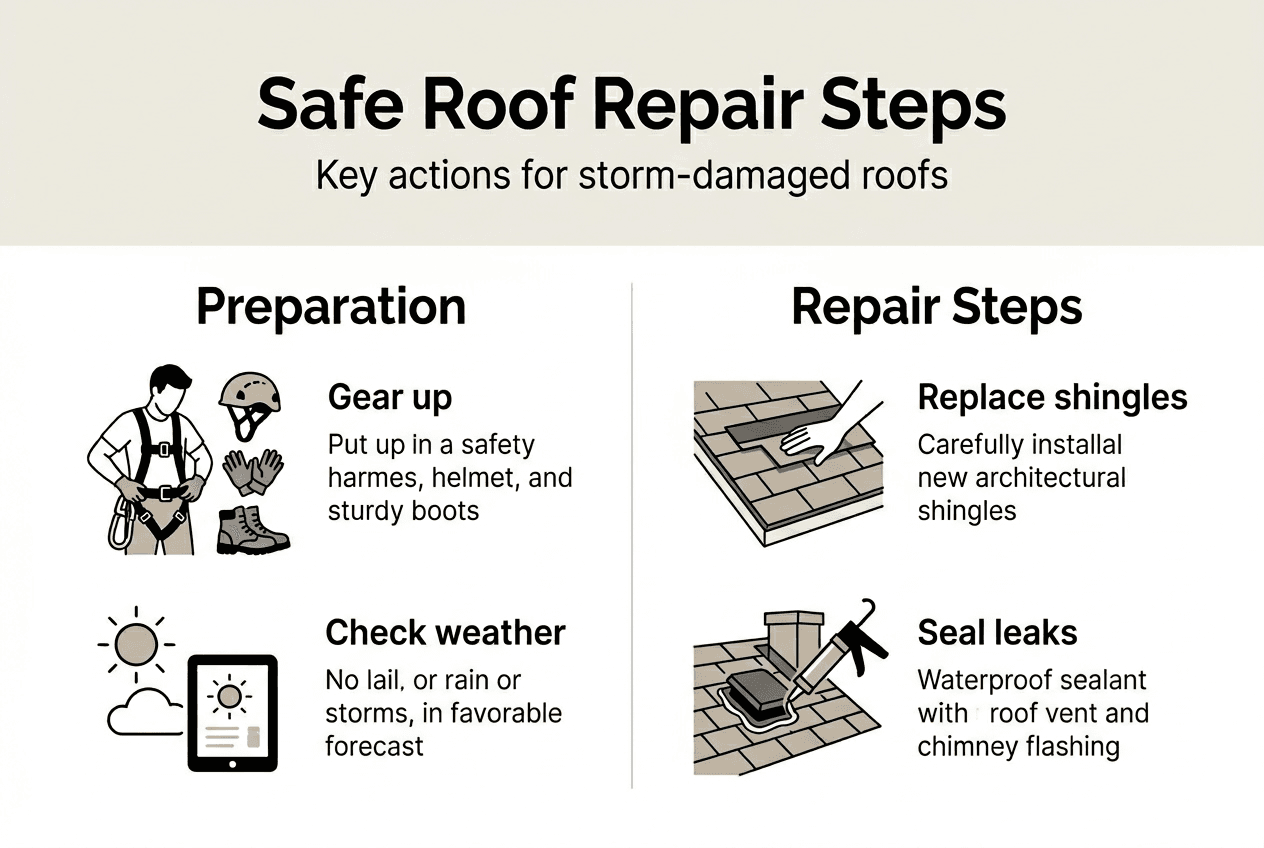
Personal protective equipment is non-negotiable for roof work. At minimum, wear a hard hat, safety glasses, work gloves with good grip, and non-slip footwear. A safety harness with proper anchor points prevents falls on steep or high roofs. Knee pads protect your joints during extended kneeling, and long sleeves shield your skin from sharp materials and sun exposure. Keep a first aid kit readily available and ensure your phone is charged for emergency calls.
Pro Tip: Always check the weather forecast for at least 48 hours ahead before starting roof repairs. You need a dry window long enough to complete the work and allow sealants to cure properly. Unexpected rain can ruin fresh repairs and create dangerous working conditions.
Before ascending, organize your workspace by staging tools and materials in logical order. Use a rope and bucket system to haul supplies to the roof rather than carrying them up the ladder. Clear the work area of debris, loose nails, and trip hazards. Establish clear communication signals with your ground helper. Set up barriers or warning signs if your work area is near pedestrian traffic. This preparation phase might seem tedious, but it dramatically reduces accidents and improves repair quality. For guidance on selecting the best roof repair materials and sealants, consult product reviews and manufacturer specifications that match your climate and roof type.
Step-by-step guide to repairing common storm roof damages
With preparation complete, you are ready to tackle the actual repairs. The approach varies by damage type, but these core procedures address the most common storm-related issues homeowners encounter.
For replacing damaged or missing shingles:
- Carefully lift the edges of surrounding shingles using a pry bar to expose the nails holding the damaged shingle.
- Remove the nails completely, then slide out the damaged shingle.
- Cut the new replacement shingle to match if necessary, ensuring proper fit.
- Slide the new shingle into position, aligning it with adjacent shingles.
- Secure with roofing nails placed just below the adhesive strip, then press down the overlapping shingles.
- Apply a small dab of roofing cement under lifted edges to reseal.
For sealing cracks and small punctures:
- Clean the damaged area thoroughly, removing all debris, dirt, and loose material.
- Apply roofing cement generously over the crack or hole, extending at least two inches beyond the damage.
- Press a patch of roofing fabric or mesh into the wet cement.
- Cover the patch with another layer of roofing cement, feathering the edges for a smooth transition.
- Allow proper curing time as specified by the product manufacturer.
Deciding between spot repairs and full replacement depends on damage extent and roof age. Properly following repair steps increases roof durability and prevents costly future damage. If more than 30% of your roof surface shows damage, or if your roof is over 20 years old, replacement often proves more cost-effective than extensive patching. Consult roof repair vs replacement guidance to make an informed decision.
| Damage Type | Repair Method | Typical Cost | Time Required |
|---|---|---|---|
| Missing shingles (1 to 5) | Individual replacement | $150 to $400 | 2 to 4 hours |
| Small cracks or punctures | Sealant and patch | $50 to $150 | 1 to 2 hours |
| Damaged flashing | Remove and replace | $200 to $500 | 3 to 5 hours |
| Multiple section damage | Partial re-roofing | $1,000 to $3,000 | 1 to 3 days |
Pro Tip: After repairing visible damage, inspect adjacent areas within a six-foot radius. Storm impacts often cause hidden micro-cracks or loosened adhesive that will fail within months if not addressed now. Catching these issues during your initial repair saves time and prevents callbacks.
Work methodically from the lowest damaged point upward to maintain proper water flow and shingle overlap. Take breaks every 45 minutes to assess your progress and rehydrate. Never rush roof work, as mistakes made under time pressure often lead to leaks and premature failure. Quality repairs completed carefully will protect your home for years, while hasty patches may fail within a single season.
Verifying repair success and ongoing maintenance tips
Completing the physical repair is only half the job. Thorough verification ensures your work will hold up under future weather conditions and protects your investment of time and materials. Start by visually inspecting all repaired areas from multiple angles, looking for gaps, unsealed edges, or misaligned shingles. Run your hand gently over repairs to feel for raised nails or rough transitions that could catch wind or debris.
The most reliable test is a controlled water check. Using a garden hose, simulate rainfall by directing water above and around repaired areas for at least 15 minutes. Have a helper inside the attic or upper floor watching for any signs of moisture penetration. Look for water stains, drips, or dampness on the underside of the roof decking. If leaks appear, mark the location immediately and reseal those areas with additional roofing cement before retesting.
Signs your repair needs professional reassessment include:
- Persistent leaks after multiple repair attempts.
- Visible sagging or soft spots in the repaired section.
- Shingles that continue to lift or curl despite proper installation.
- Widespread damage beyond your initial assessment.
- Structural concerns like cracked rafters or compromised decking.
Regular verification and maintenance prevent minor storm damage from escalating to serious problems. Schedule a post-repair roof inspection within two weeks of completing work, then again after the first significant rain event. This two-stage verification catches both immediate installation issues and problems that only appear under real weather stress.
Ongoing maintenance extends your roof’s life and maximizes the value of your repair investment. Clean gutters and downspouts quarterly to prevent water backup that can undermine even perfect repairs. Trim tree branches that hang within ten feet of your roof to reduce debris accumulation and storm impact risks. Remove moss, algae, and lichen growth promptly, as these organisms trap moisture and accelerate shingle deterioration.
Pro Tip: Schedule professional roof inspections every spring and fall, even if you see no obvious problems. Seasonal checks catch developing issues while they are still minor and inexpensive to fix. Many roofing companies offer free or low-cost inspection services that can save thousands in emergency repairs.
Document your repairs with dated photos and receipts for materials and labor. This record proves valuable for insurance claims, home sales, and warranty issues. Create a simple roof maintenance log noting inspection dates, findings, and actions taken. This history helps identify patterns and informs future repair decisions. By combining quality initial repairs with diligent ongoing care, you protect your home’s most critical weather barrier and avoid the stress and expense of repeated storm damage.
Trust Sunflowers Energy for your storm-damaged roof needs
While DIY repairs work well for minor damage, significant storm impacts require professional expertise to ensure lasting protection. Sunflowers Energy brings advanced diagnostic tools, premium materials, and experienced crews to every professional roofing services project. Our team specializes in storm damage assessment and restoration, helping homeowners maximize insurance benefits while restoring roof integrity.

We understand that storm damage creates urgent concerns about safety and costs. That’s why we offer free roof inspection services with no obligation, providing you with a detailed damage report and repair options tailored to your budget. Our comprehensive approach combines roofing expertise with solar integration opportunities, potentially turning storm damage into an opportunity for energy-efficient upgrades. Explore our roofing and solar services to discover how professional care protects your home and reduces long-term energy costs.
FAQ
How soon should I inspect my roof after a storm?
Inspect your roof within 24 to 48 hours after a storm ends to identify damage before it worsens. Early detection prevents minor issues like lifted shingles from becoming major leaks. If conditions are unsafe due to lingering weather or roof instability, wait for professional help rather than risking injury. Prompt roof inspection timing documentation also strengthens insurance claims by establishing clear cause and effect.
Can I repair storm damage myself or should I hire a professional?
Minor damage like a few missing shingles or small cracks can be repaired by experienced DIYers who have proper tools and safety equipment. However, extensive damage, steep roofs, structural concerns, or heights beyond your comfort level require hiring a professional roofing contractor. Professional repairs often come with warranties and insurance coverage that DIY work cannot provide. Consult roof repair guidance to evaluate whether your situation suits self-repair or demands expert intervention.
Will my homeowners insurance cover storm-damaged roof repairs?
Most homeowners insurance policies cover storm damage repairs, including wind, hail, and falling debris impacts. Coverage varies by policy, deductible, and damage extent, so review your specific terms carefully. Promptly document all damage with photos and detailed notes, then file your claim following your insurer’s guidelines. Some policies have time limits for reporting storm damage. Learn about homeowners insurance roof coverage specifics to maximize your benefits and avoid claim denials.
How can I maintain my roof after repairs to prevent future storm damage?
Regular seasonal inspections and cleaning debris from gutters and roof surfaces help spot developing problems before they become emergencies. Trim overhanging tree branches to reduce storm impact risks and limit debris accumulation. Address minor issues like loose shingles or small cracks immediately rather than waiting for them to worsen. Apply protective treatments to extend shingle life and improve weather resistance. Following comprehensive roof maintenance tips creates a proactive defense against future storm damage and extends your roof’s service life significantly.
Recommended
- Roof Inspection After Hail: DIY Checklist & Next Steps – Sunflowers Energy LLC A Roofing and Solar Companys
- Roofing – Sunflowers Energy LLC A Roofing and Solar Companys
- 5 Signs You Need A Roof Replacement (And What To Do Next) – Sunflowers Energy LLC A Roofing and Solar Companys
- Patch It Up: Your Guide to the Best Wet Roof Sealants – Sunflowers Energy LLC A Roofing and Solar Companys
