Water dripping from your ceiling at 2 a.m. isn’t the kind of surprise anyone wants. But before you panic, know this: how to fix a roof leak from the inside is absolutely something you can handle as a temporary measure. A quick interior response can prevent hundreds or even thousands of dollars in additional water damage to your ceilings, walls, insulation, and belongings.
That said, an interior fix is exactly that, temporary. It buys you time until a professional can assess the damage from the outside and make a permanent repair. At Sunflowers Energy LLC, we handle residential and commercial roof repairs daily, including emergency storm damage restoration with full insurance claim assistance. We’ve seen firsthand how a fast response from inside the home can make the difference between a minor repair and a major renovation.
This guide walks you through the exact steps to locate a leak from your attic or ceiling, contain the water, and apply a temporary patch that holds until help arrives. We’ll cover the tools you need, the mistakes to avoid, and when it’s time to call in a roofing professional instead of going it alone.
Safety checks and what you need before you start
Before you think about how to fix a roof leak from the inside, you need to make sure the area is actually safe to work in. Water and electricity are a dangerous combination, and a leaking roof can easily route water toward light fixtures, outlets, or wiring without any obvious signs. Take two minutes to assess the situation carefully before you grab any tools or climb into your attic.
Check for electrical hazards first
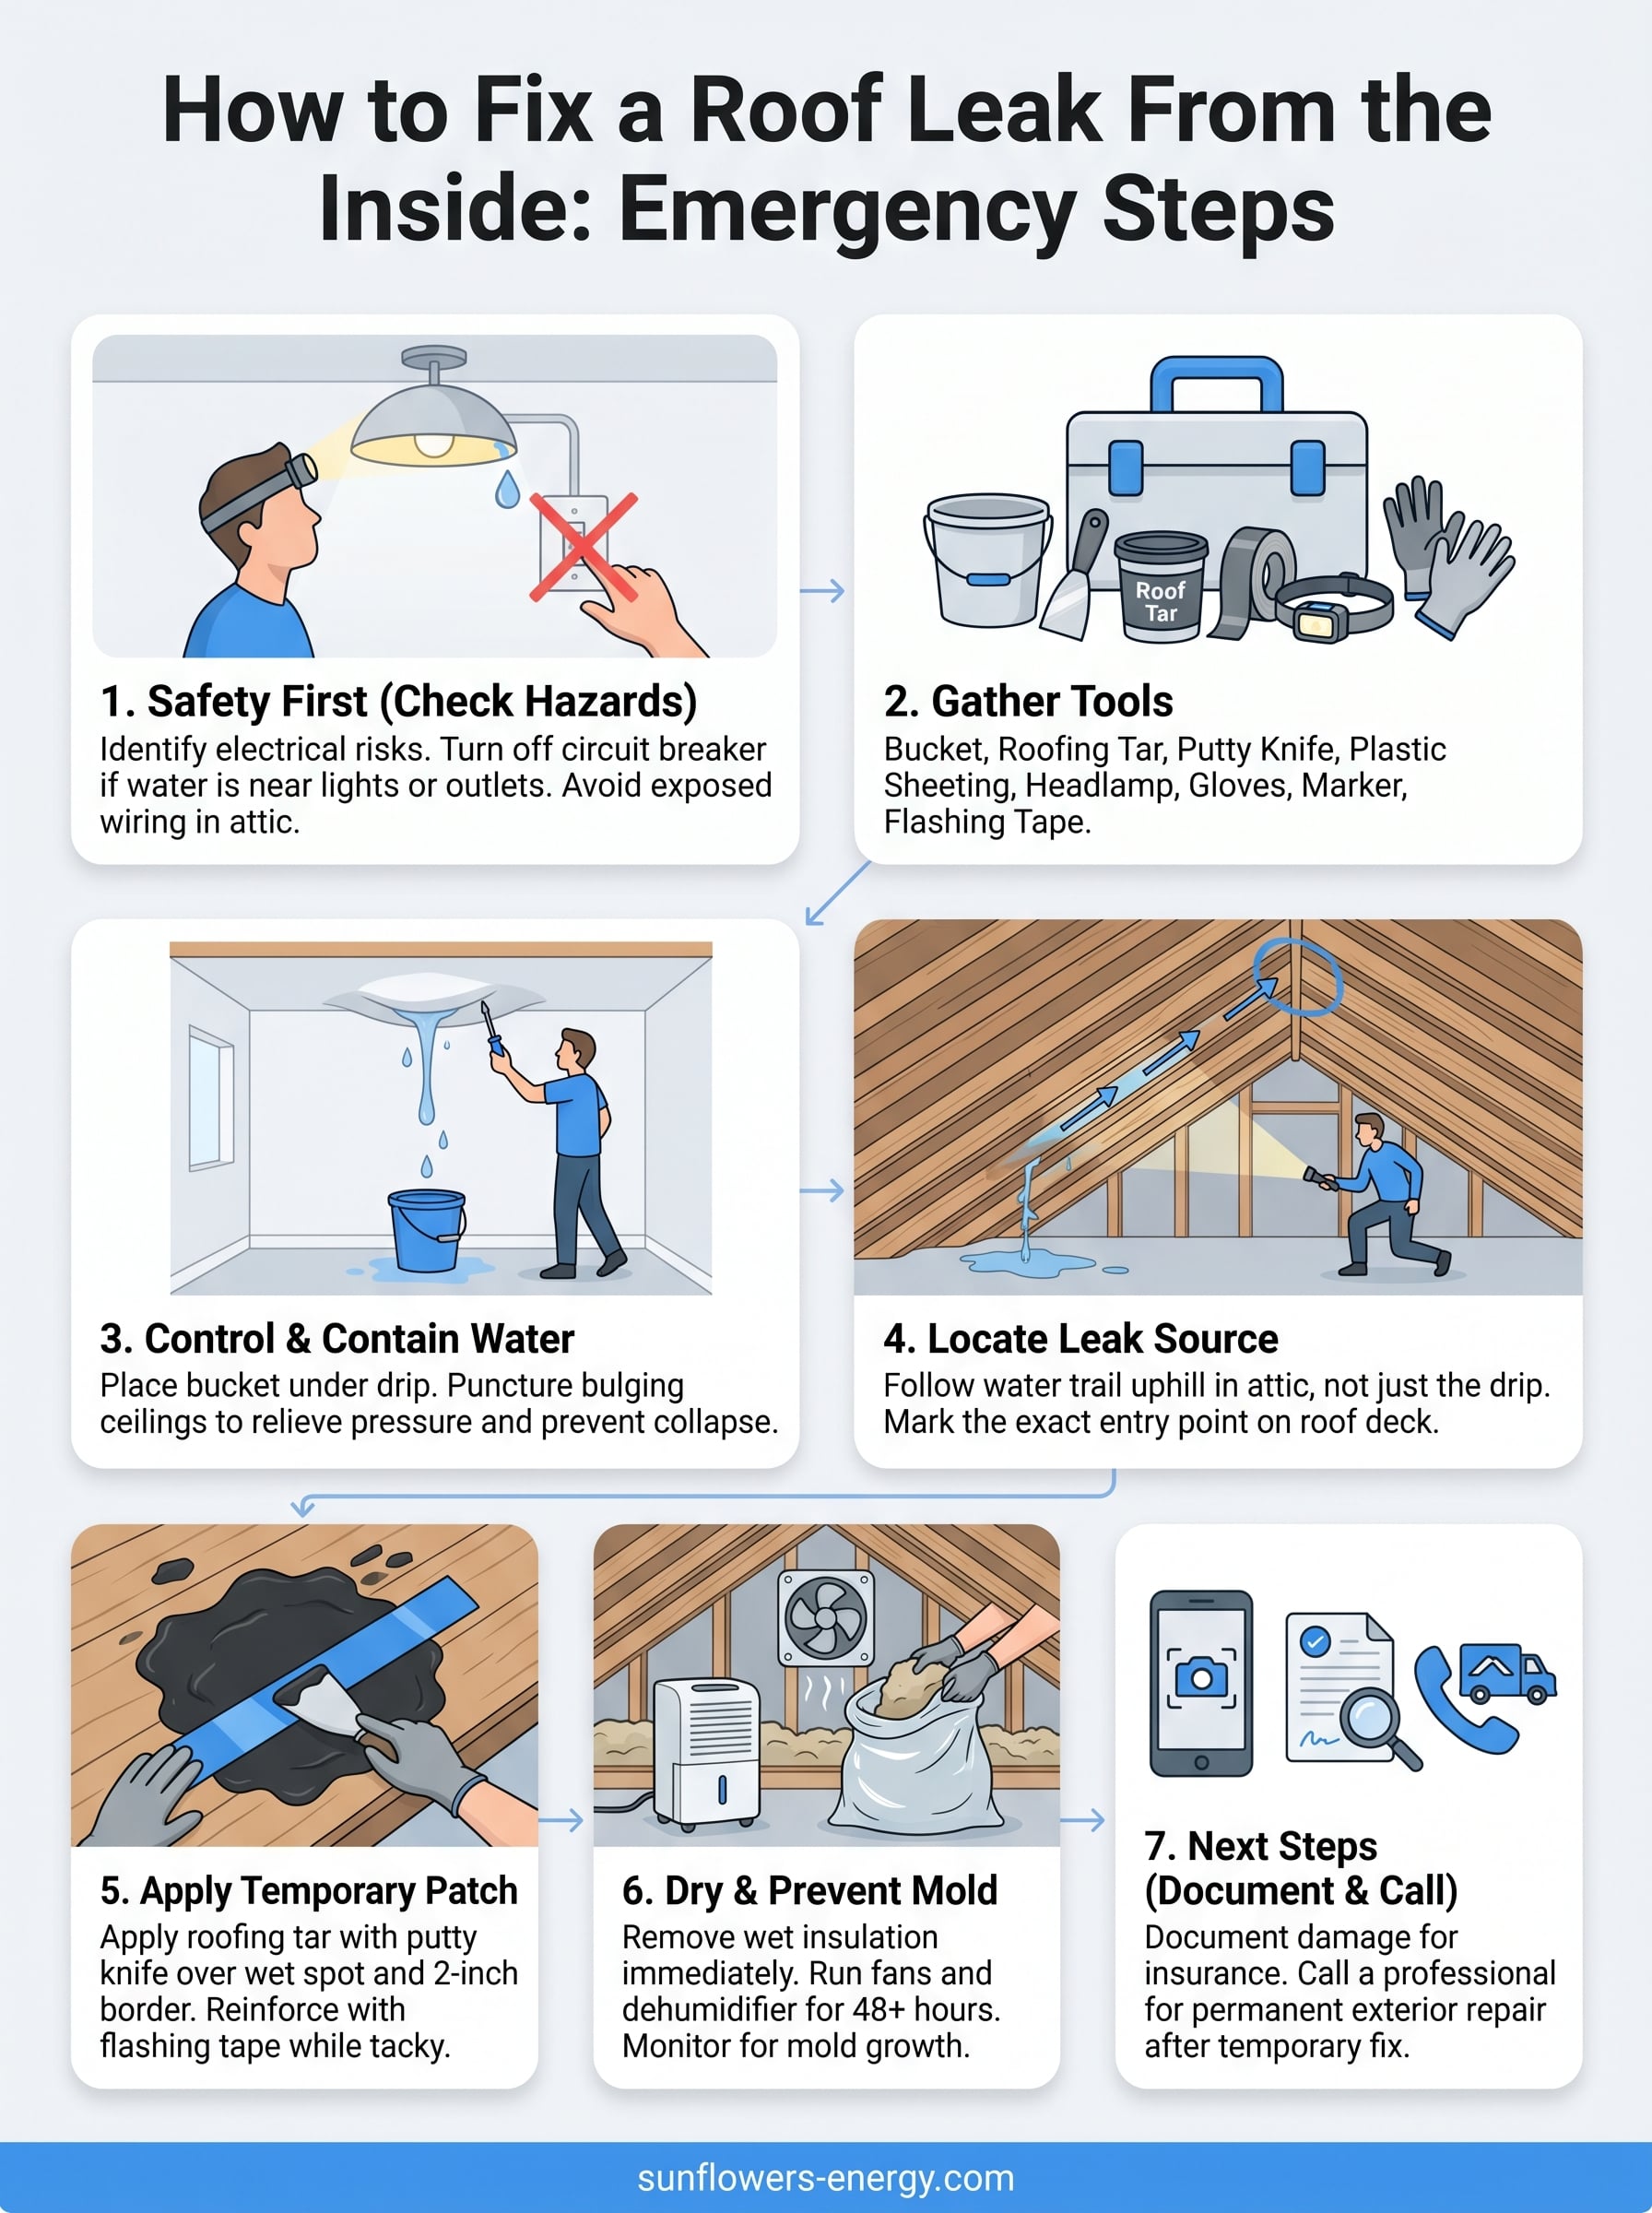
Your first priority is to identify any electrical risks in the affected area. Look up at the ceiling and around the walls near the leak for light fixtures, outlets, ceiling fans, or junction boxes. If water is dripping near any of these, turn off the circuit breaker for that room immediately before you do anything else.
Never assume a ceiling light or outlet is safe just because the water looks minor. Even a small amount of moisture inside an electrical fixture can cause a short circuit or fire.
Also check your attic for exposed wiring or junction boxes near the wet area. If you see water pooling close to wiring or the wiring looks visibly damaged or discolored, do not enter that section of the attic. Call a licensed electrician before you proceed with any interior repair work.
Gather your tools and materials
Once you’ve confirmed the area is safe, pull together everything you need before you head up into the attic. Working in a dark, wet space is already uncomfortable enough without having to climb back down mid-job because you forgot something. Here’s what to bring:
| Item | Purpose |
|---|---|
| Bucket or large plastic bin | Catch and contain dripping water |
| Roofing tar or roof sealant | Apply a temporary interior patch |
| Putty knife or caulk gun | Spread or inject sealant accurately |
| Heavy-duty plastic sheeting | Protect insulation and structural wood |
| Headlamp or flashlight | Keep both hands free while working |
| Work gloves | Guard against sharp debris and wet insulation |
| Marker or chalk | Mark the exact leak location for later |
| Butyl tape or flashing tape | Reinforce or back up the sealant patch |
You don’t need professional-grade equipment to manage a temporary interior fix. Most of these items are available at any hardware store, and several you likely already own. The goal here is limiting water damage, not completing a permanent roof repair.
Step 1. Control the water and prevent ceiling damage
When water is actively coming in, your first job is containment, not repair. Before you even think about how to fix a roof leak from the inside, you need to stop the water from spreading to areas it hasn’t reached yet. A few fast moves here can protect your drywall, flooring, and belongings from additional damage.
Redirect water into a bucket
Positioning a bucket directly under the drip is the most obvious step, but placement matters more than you might think. Water doesn’t always fall straight down; it travels along joists, pipes, and insulation before it drips. Slide a bucket or large plastic bin under the most active drip point, and lay down plastic sheeting on the floor around it to catch any overflow or splash.
- Place old towels around the bucket base to absorb splatter
- Check and empty the bucket every few hours during heavy rain
- Use a second container as backup if the drip rate is high
Relieve pressure from a bulging ceiling
If you notice your ceiling drywall is sagging or bulging, that means water has pooled above it. Left alone, it will collapse under its own weight and take a large section of drywall with it.
Puncturing the lowest point of the bulge with a screwdriver gives the trapped water a controlled exit point instead of a sudden, damaging collapse.
Use a screwdriver or small nail to pierce the bulge at its lowest point, and place a bucket directly below before you do it. The release will be fast and heavy, so be ready.
Step 2. Track the leak source from inside the attic
Once the water is contained, head into the attic to locate where the moisture is actually entering. This step matters because where water drips inside your home is rarely the same spot where it’s coming through the roof. Water travels along rafters, sheathing, and insulation before it finds a low point and falls.
Follow the water trail, not the drip
Start by shining your headlamp along the underside of the roof deck directly above where the drip appeared on your ceiling. Look for these signs:
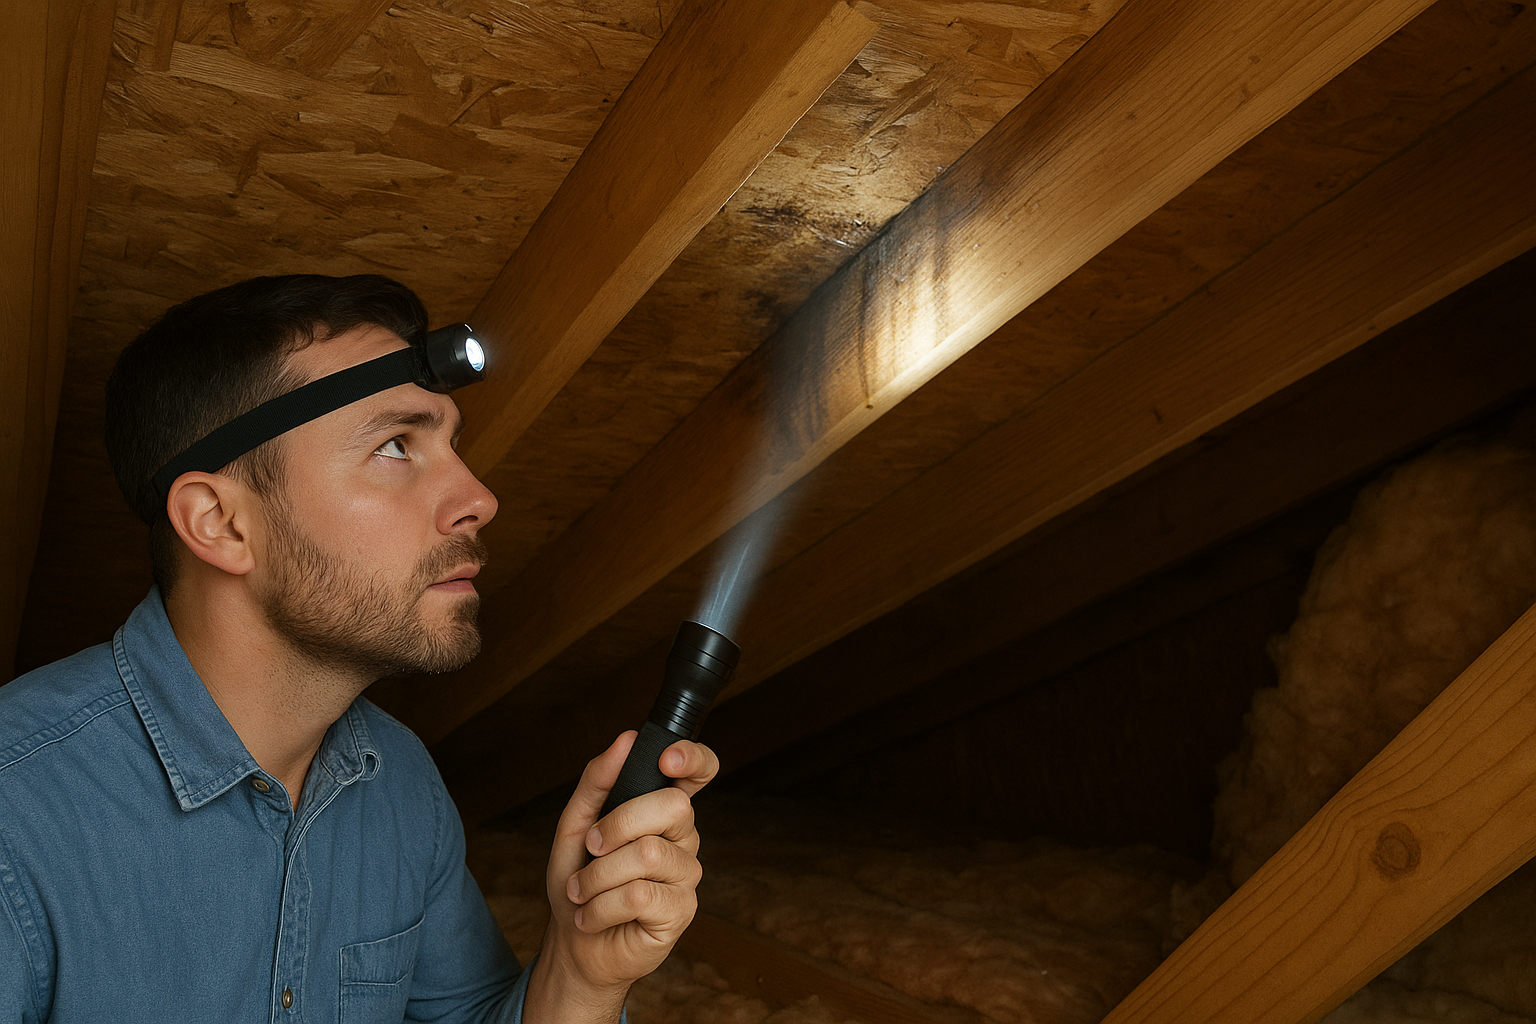
- Wet or dark staining on the wood sheathing
- Water streaks running down a rafter
- Frost or ice buildup in winter climates
- Soft, discolored, or compressed insulation
- Pinhole light coming through from outside
Trace the moisture uphill from the first wet spot you find, since water almost always enters higher than where it becomes visible. Keep moving toward the ridge until you find the origin point.
A dry day after the storm is actually the best time to do this check, since standing water makes it harder to trace the exact entry path.
Mark the spot before you leave
When you locate the entry point or the wettest area of the deck, mark it clearly with chalk or a marker on the nearest rafter. This gives you a precise target when you apply your temporary patch in the next step.
Your marked location also gives any roofing professional a clear starting point when they arrive to assess the damage. Identifying this spot accurately is a core part of how to fix a roof leak from the inside effectively, so take an extra 30 seconds to make the mark large and visible before you leave the attic.
Step 3. Apply a temporary patch from the inside
Now that you’ve marked the entry point, you’re ready for the most critical part of how to fix a roof leak from the inside: sealing the breach temporarily so water stops moving into your home. Work only on the underside of the roof deck from inside the attic. Do not attempt to go on the roof in wet or stormy conditions.
Apply roofing tar to the entry point
Roofing tar is your best option for an interior temporary patch because it bonds to wet wood and fills small gaps without needing dry conditions. Use a putty knife to work a thick, even layer of roofing tar directly over the wet spot you marked. Push it firmly into any visible cracks or gaps in the sheathing, and extend the coverage at least two inches beyond the edges of the damaged area in every direction.
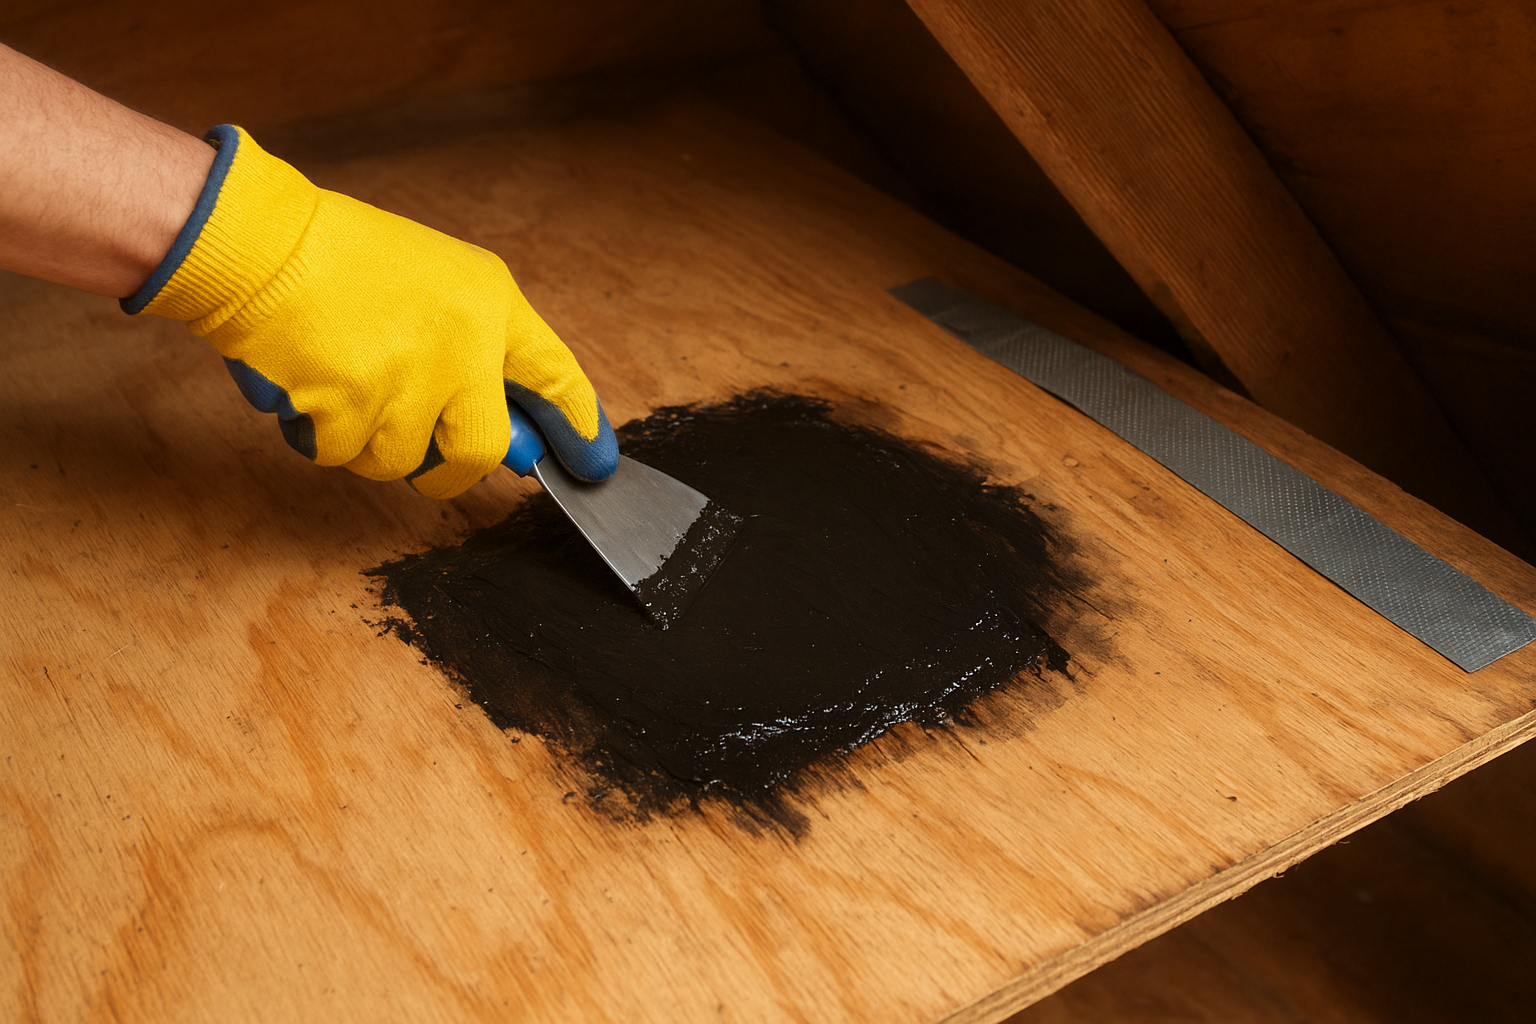
The patch works best when you apply pressure and work the tar into the wood grain rather than just spreading it on the surface.
- Cover the entire wet area plus a 2-inch border
- Apply a second layer if the first coat looks thin or uneven
- Press firmly along edges to eliminate air gaps
Reinforce with flashing tape
After the tar is applied, press a strip of butyl flashing tape over the patched area while the tar is still tacky. This adds a waterproof barrier layer that prevents the tar from cracking if the wood shifts as it dries. Smooth the tape flat with your gloved hand, working from the center outward to eliminate any bubbles or lifted edges.
Step 4. Dry everything and prevent mold fast
Once you’ve applied the temporary patch, drying out the affected area is your next urgent task. Mold can start developing within 24 to 48 hours of water exposure, so this step is time-sensitive. Skipping it turns a manageable leak into a health and structural problem that costs far more to fix than the original roof damage.
Remove standing water and wet insulation
Wet insulation holds moisture against your wood framing and speeds up rot and mold growth significantly. Pull out any soaked batts or blown insulation from the affected area using gloved hands and seal it in heavy plastic bags for disposal. Do not leave wet insulation sitting in place hoping it will dry on its own, because it won’t dry adequately and will stay damp for days.
If you’re unsure how to fix a roof leak from the inside without causing more damage to your insulation, err on the side of removing more rather than less.
- Bag and discard wet insulation immediately
- Wipe down wet rafters and sheathing with dry rags
- Check adjacent insulation for dampness and remove if needed
Run airflow and monitor for mold
Point a box fan or industrial fan directly at the wet framing and run it continuously for at least 48 hours. A dehumidifier placed in the attic or the room below will pull remaining moisture from the air and speed up the drying process considerably.
Check the dried area every 12 hours for any black, green, or white discoloration on wood surfaces, which signals active mold growth. If you spot it, apply a diluted bleach solution (one cup bleach per gallon of water) directly to the surface before it spreads further.
What to do next after you stop the leak
A temporary patch buys you time, but it won’t hold forever. Document everything before you do anything else: take photos of the leak location, the patch you applied, and any visible water damage to insulation, framing, or drywall. Your insurance company will likely ask for this evidence, and having it ready speeds up the claims process considerably.
Now that you know how to fix a roof leak from the inside as an emergency measure, the next step is getting a professional to assess the exterior damage. Temporary interior patches can fail within days if the underlying problem, whether cracked flashing, damaged shingles, or a compromised seal, isn’t addressed from the outside. Waiting too long risks mold, structural rot, and a much larger repair bill down the road.
If you’re ready to move from temporary fix to permanent solution, schedule a free roof inspection with Sunflowers Energy LLC before the next storm hits.

One Response